Command-Line Tutorial
This tutorial assumes that you are using a setup with two Canon A2200 cameras that have the latest version of CHDK installed. The rest of the setup is up to you, though development and testing has been performed with a build of the DIYBookScanner. Furthermore, the following instructions are tailored to an up-to-date installation of a Debian GNU/Linux installation or one of its derivatives (*buntu, Linux Mint, etc.). You might have to adjust the commands for other distributions. This tutorial will also use most of the included plugins, so the dependencies are rather numerous, though you can adapt that, if you want.
The described (and recommended) way to install spreads is inside of a virtualenv, not system-wide, though you can do so as well, if you like.
Installation
First, ensure that you have all the dependencies installed:
$ sudo apt-get install python2.7 python2.7-dev python-virtualenv libusb-dev\
  libjpeg-dev libtiff-dev libqt4-core rubygems ruby-rmagick libmagickwand-dev\
  libhpricot-ruby scantailor
$ sudo gem install pdfbeads
$ wget http://djvubind.googlecode.com/files/djvubind_1.2.1.deb
$ sudo dpkg -i djvubind_1.2.1.deb
# Download the latest 'chdkptp' release from the website:
# https://www.assembla.com/spaces/chdkptp/documents
$ sudo unzip chdkptp-<version>-<platform>.zip -d /usr/local/lib/chdkptp
$ virtualenv ~/.spreads
$ source ~/.spreads/bin/activate
$ pip install spreads
Configuration
To perform the initial configuration, launch the configure subcommand:
$ spread configure
You will be asked to select a device driver (choose a2200) and some plugins (choose all except gui and colorcorrect). Next, configure the order in which your postprocessing plugins should be invoked. I recommend you set this to the following value:
autorotate,scantailor,tesseract
Next, you can set the target pages for each of your cameras. This is necessary, as the application has to:
- combine the images from both cameras to a single directory in the right order
- set the correct rotation for the captured images
To do both of these things automatically, the application needs to know if the image is showing an odd or even page. Don’t worry, you only have to perform this step once, the orientation is stored on the camera’s memory card (under A/OWN.TXT). Should you later wish to briefly flip the target pages, you can do so via a command-line flag.
Note
If you are using a DIYBookScanner, the device for odd pages is the camera on the left, the one for even pages on the right.
After that, you can choose to setup the focus for your devices. By default, the focus will be automatically detected on each shot. But this can lead to problems: Since the camera uses the center of the frame to obtain its focus, your images will be out of focus in cases where the center of the page does not have any text on it, e.g. in chapter endings. This step is therefore recommended for most users. Before you continue, make sure that you have loaded a book into the scanner, and that the pages facing the camera are evenly filled with text or illustrations.
Once you’re done, you can find the configuration file in the .config/spreads folder in your home directory.
See also
Workflow
To begin, we run spreads in the wizard mode, which will guide us through the whole workflow:
$ spread wizard ~/my_book
On startup, your cameras will simultaneously adjust their zoom levels and set their focus. Once this is done, the application will ask you to press one of your configured shooting keys (default: b or space). If you do so, both cameras will take a picture simultaneously, which is then transferred to our computer and stored under the correct filename in the raw subdirectory of our project directory. Should you notice that you made a mistake during the last capture, you can press r do discard the last capture and retake it. Now scan as many pages as you need, when you’re done, press f to quit the capturing process and continue to the next step.
Now spreads will begin with the postprocessing of the captured images. If you followed the instructions so far, it will first rotate the images, which, depending on your CPU and the number of images might take a minute or two. Afterwards, spreads will launch a ScanTailor process in the background, that will generate a configuration file (stored under ~/my_book/my_book.ScanTailor). When it has finished, it will open the ScanTailor GUI, so you can make your final adjustments to the configuration. Save and close your project when you’re finished. spreads will then split the configuration file into as many files as your computer has CPU cores and perform the final ScanTailor step on all of them in parallel.
Finally, once ScanTailor has completed generating the final version of your images ( in the done folder), it will generate PDF and DJVU files from them, which you will find under the ~/my_book directory.
If you want to know more about any of the above steps and how you can configure them, check out the entries for the appropriate appropriate plugins.
GUI Wizard
Enabling the GUI
To enable the GUI wizard, first make sure that you have an up-to date version of PySide installed on your machine and linked to your virtual environment:
$ sudo apt-get install python-pyside
$ ln -s /usr/lib/python2.7/dist-packages/PySide ~/.spreads/lib/python2.7/site-packages/PySide
Then, just re-run the configure step and add gui to your list of plugins. You can launch the GUI with the following command:
$ spread gui
Usage
On the first screen, you can adjust various settings for your scan. You have to specify a project directory before you can continue. The rest of the settings depends on which plugins you have enabled. Select the plugin to configure from the dropdown menu and make your adjustments.
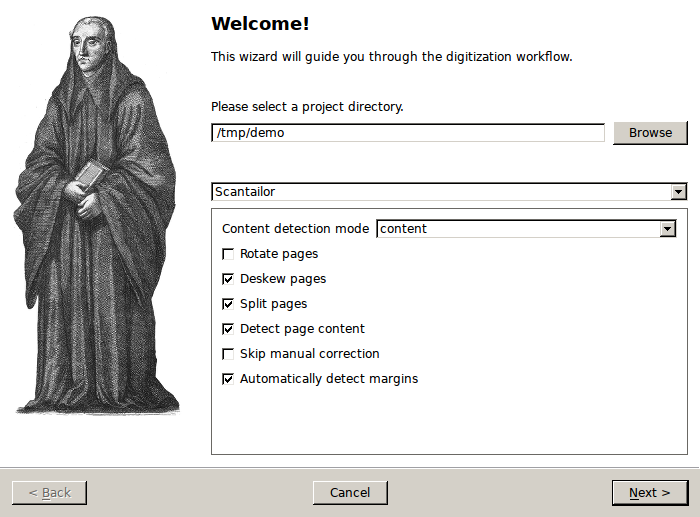
Initial setup page
After you’ve clicked *next*, the cameras will be prepared for capture by setting their zoom and focus levels. At the top of the screen you can see how many pages you’ve already scanned, as well as your current average scanning speed. The text box at the bottom of the screen will display any warnings or error messages that occur during the capture process. Next, initiate a capture by clicking on the button (or pressing one of the capture keys).
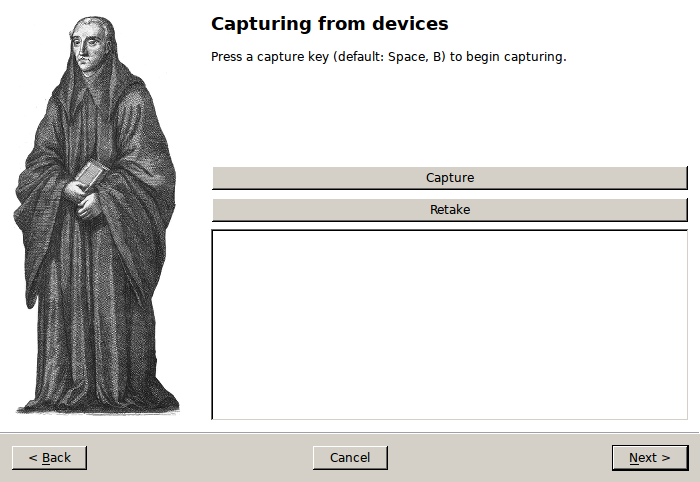
Capture page
Once you have captured your first pages, you will see the last two pages your cameras shot. Here you can verify that everything went as expected. Should you notice a mistake, you can discard the previous shot and retake it by clicking on the retake button.
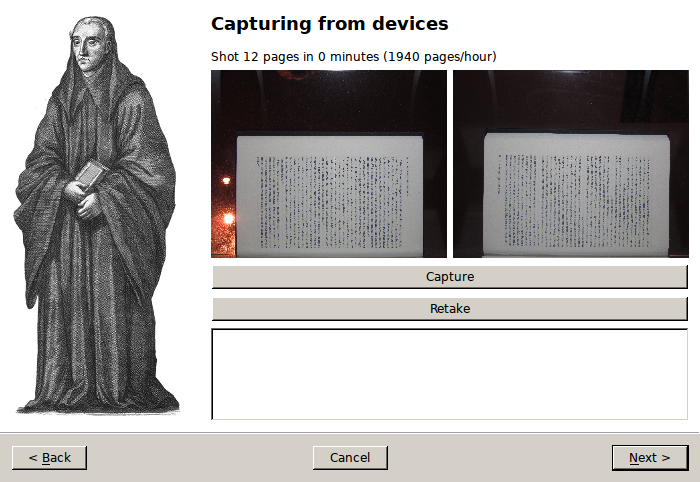
Capture page with control images
Once you’ve finished scanning your book and clicked on the *next* button, spreads will execute all enabled postprocessing plugins in the sequence that you configured. You can verify the progress in the text box.
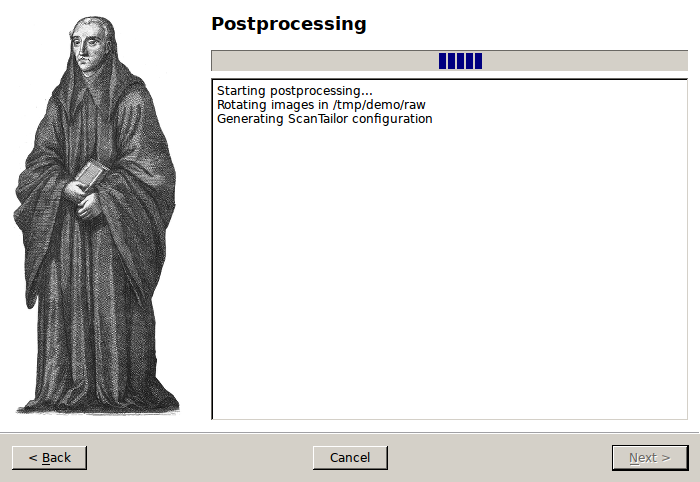
Postprocessing page
Last, spreads will assemble the processed scans into your enabled output formats. As in the postprocessing step, follow the progress via the text box.
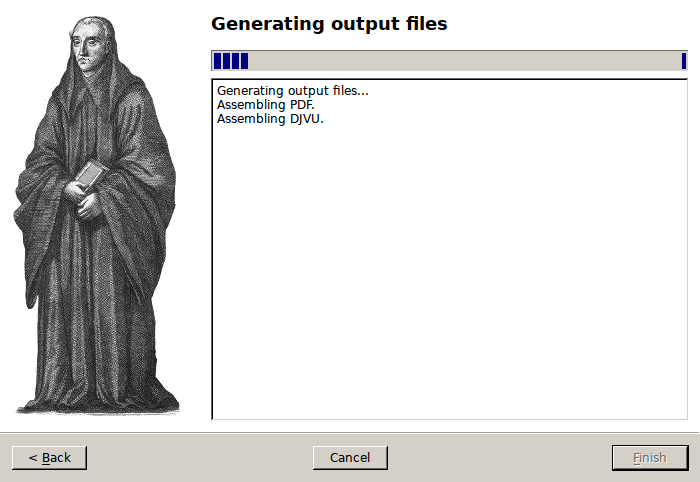
Output page

Table Of Contents
- Home Page
- Command-Line Tutorial
- GUI Wizard
- Installation
- Configuration
- Command-Line Interface
- Plugins
- Extending spreads
- Frequently Asked Questions
- API Reference
- Changelog
Related Topics
- Documentation overview
- Previous: Home Page
- Next: Installation
