Graphical Interface
Installation
To enable the GUI wizard, first make sure that you have an up-to date version of PySide installed on your machine.
Then, just re-run the configure step and add gui to your list of plugins.
Interface
On the first screen, you can adjust various settings for your scan. You have to specify a project directory before you can continue. The rest of the settings depends on which plugins you have enabled. Select the plugin to configure from the dropdown menu and make your adjustments.
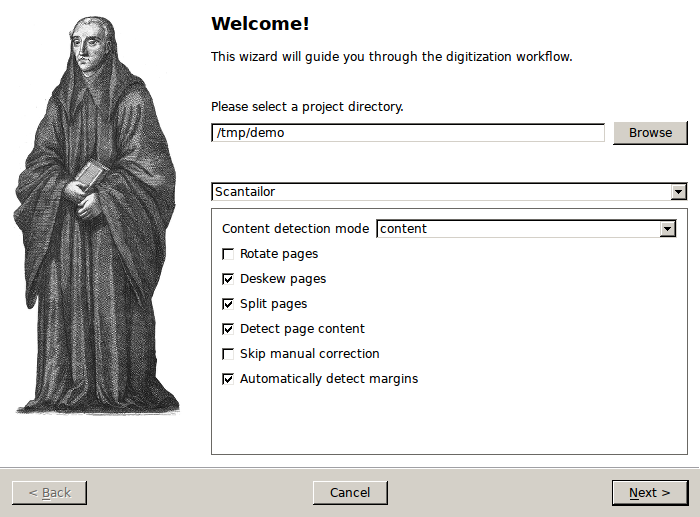
Initial setup page
After you’ve clicked *next*, the cameras will be prepared for capture by setting their zoom and focus levels. At the top of the screen you can see how many pages you’ve already scanned, as well as your current average scanning speed. The text box at the bottom of the screen will display any warnings or error messages that occur during the capture process. Next, initiate a capture by clicking on the button (or pressing one of the capture keys).
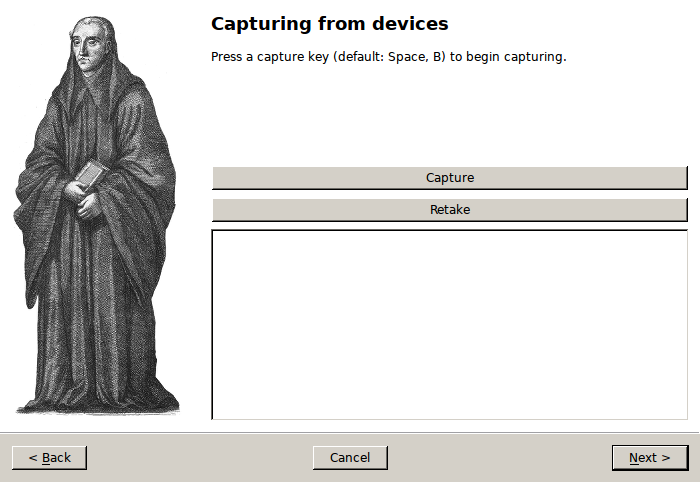
Capture page
Once you have captured your first pages, you will see the last two pages your cameras shot. Here you can verify that everything went as expected. Should you notice a mistake, you can discard the previous shot and retake it by clicking on the retake button.
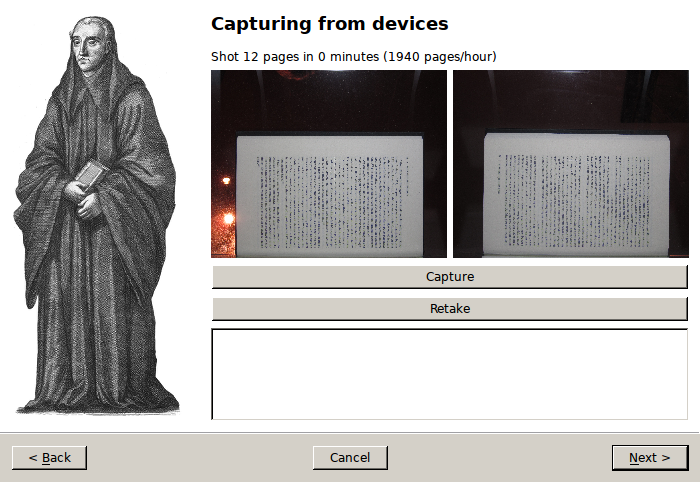
Capture page with control images
Once you’ve finished scanning your book and clicked on the *next* button, spreads will execute all enabled postprocessing plugins in the sequence that you configured. You can verify the progress in the text box.
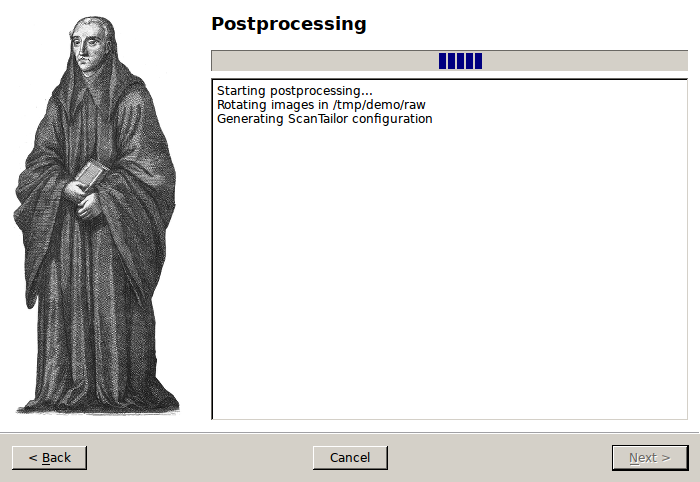
Postprocessing page
Last, spreads will assemble the processed scans into your enabled output formats. As in the postprocessing step, follow the progress via the text box.
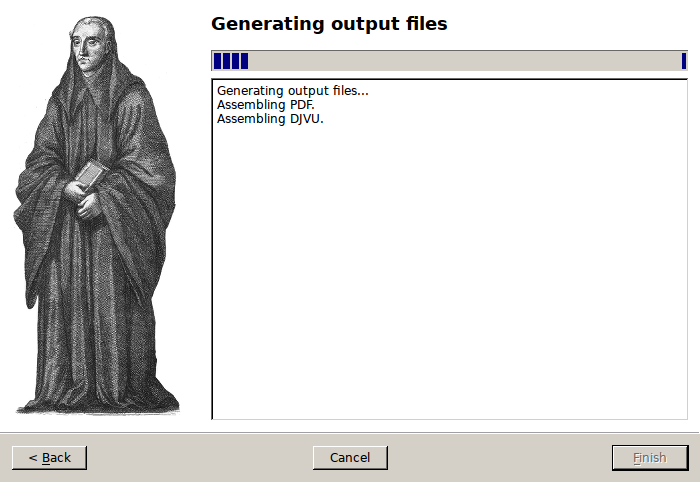
Output page